9.8 KiB
| title | slug | date | tags | ||
|---|---|---|---|---|---|
| Self-hosting: initial setup | /self-hosting-1-initial-setup/ | 2025-02-23 |
|
With the way the Internet (and the world) is going, the benefits of self-hosting the services you rely on is becoming increasingly apparent.
I have been using AWS to run a limited set microservices on the Free Tier but doing anything interesting with an actual server and database becomes expensive quickly. While I hope to eventually run my own physical server, for now I have opted to maintain a remote virtual private server. The skills I gain here will obviously transfer to the physical context.
I intend to run a series of third-party FOSS applications on different subdomains via Docker containers. I will also be deploying my own software using Docker.
This post goes over the initial setup and configuration of the server.
Choosing a provider
Jurisdiction, location and price were the main considerations. I want the server to be based in a country with good privacy laws but not so far away that latency would be noticeable. I also don't want to pay that much initially given that I am just starting out.
I opted for the German company, Hetzner. Being in the EU means their digital privacy laws are better than the UK and Germany's recent history has created more of a culture of resistance to surveillance than other EU states.
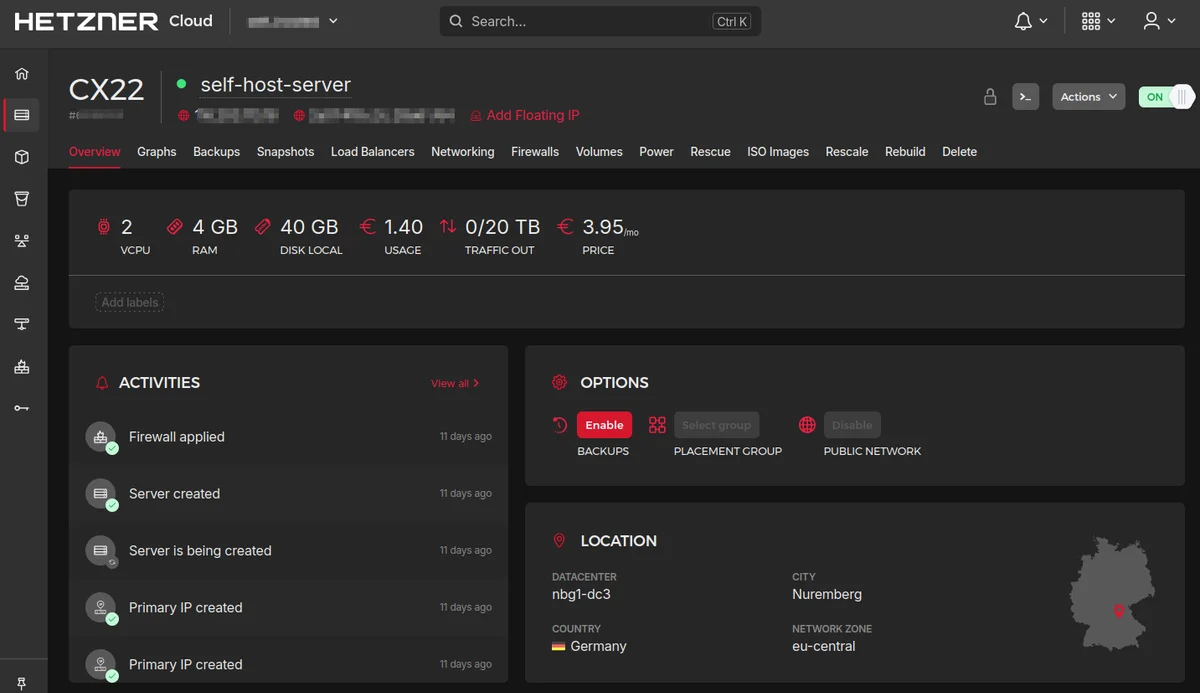
I chose their CX22 Cloud package which provides the following for just under €4 a month:
- 2 virtual CPUs (Intel)
- 4 GB RAM
- 40 GB SSD
- IPv4 and free IPv6
This is modest but given that it's virtual, I can scale up later as necessary.
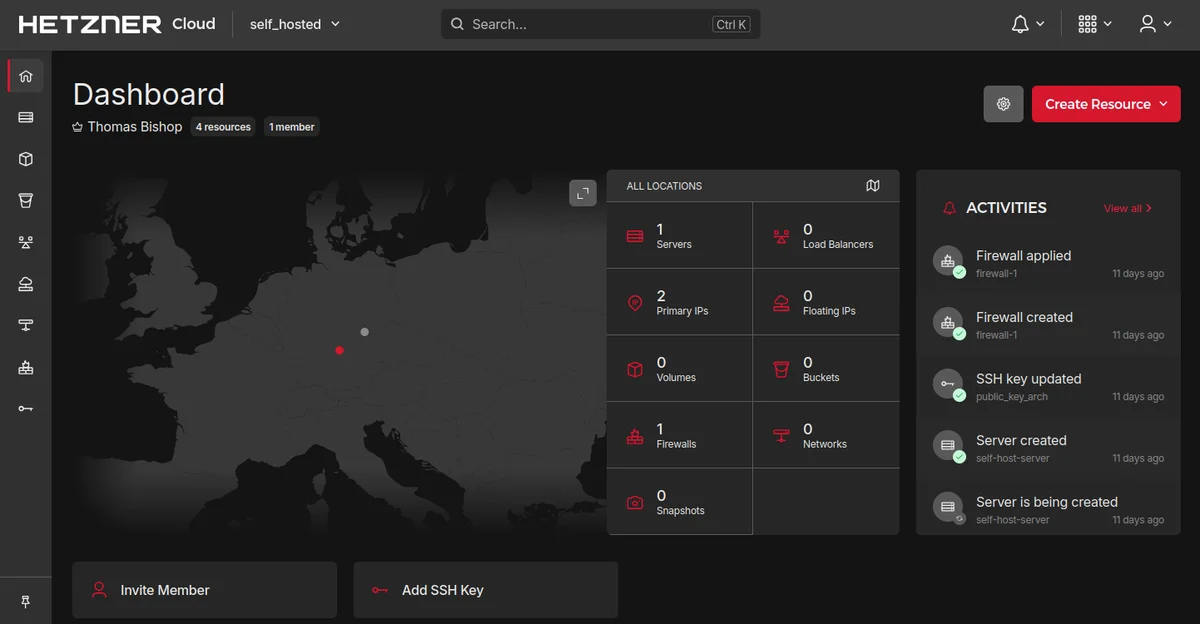
Creating a server
Once you've paid you get access to the Hetzner Cloud Console and you just click "Add server" and specify the location, hostname and OS. I opted for Nuremberg as it's nearest and decided on Debian as my Linux distro.
I set up a basic firewall using the Hetzner console, allowing incoming traffic on ports 22 (SSH), 80 (HTTP), and 443 (HTTPS). This will apply at the Network Layer. In a moment I'll explain how I also created a firewall at the Application Layer, over SSH.
Connecting
Once the server was spun up the obvious next step was to connect to it and start configuring from the inside. To do this I needed SSH access. This was straightforward, I just added my local machine's public key via the Hetzner console and then connected with:
ssh root@<server_ip4_address>
Create non-root user
Once I had access as root the first thing I did was update my packages:
apt update
apt upgrade
Next I created a non-root user with sudo privileges. This is the account I
will use for administrating the server which is obviously safer than doing stuff
as root:
apt install sudo
add user <my_username>
usermod -aG sudo <my_username>
I then switched to this user:
su - <my_username>
I'm connecting to the server over SSH but I also want to login as my_username
using SSH keys instead of a password as this is less secure.
I set up the necessary SSH directory and permissions for my_username:
mkdir /home/<my_username>/.ssh
chown <my_username>:<my_username> /home/<my_username>/.ssh
chmod 700 /home/<my_username>/.ssh
Then I transferred my local machine's public key, that I added to the server via
the Hetzner Console earlier, to the known hosts for my_username.
cp /root/.ssh/authorized_keys /home/<my_username>/.ssh/
chown <my_username>:<my_username> /home/<my_username>/.ssh/authorized_keys
chmod 600 /home/<my_username>/.ssh
To confirm, I closed the connection and then connected to the server again but
this time as my_username:
ssh <my_username>@<server_ip4_address>
Having confirmed SSH login I installed a lightweight version of vim (vim-tiny) to make text-editing easier.
sudo apt install vim-tiny
Disable root login and access
An important server-hardening routine is to prevent password logins as root.
To do this I edited the root SSH config:
sudo vim /etc/sshd_config
And added the following:
PasswordAuthentication no
Then I restarted the SSH daemon:
sudo systemctl restart sshd
Then when I attempted ssh root@<server_ip4_address> I was met with "Permission
denied", as intended.
As I side note, it's actually not possible for me to login as root at all, which
is best practice. I haven't set a root password, so if I attempt to login as
root when logged in as my_username (with su -), all attempts will fail.
When I need to run processes as root, I will do this exclusively by assuming
sudo and to do this, I need to enter the password for my_username.
Firewall
Earlier, I set up a firewall from outside of the server, using the Hetzner
console. I'm now going to do the same thing but from within the server as
my_username. It will share the same rules. This means I have a firewall at the
Network Layer (Hetzner) blocking requests before they reach the server and a
firewall operating at the Application Layer for those requests that get to the
server.
This doesn't add much in terms of security, especially as the rules are identical, but having a peripheral firewall on the Network and a firewall on the server provides a degree of "defence in depth". It will also potentially reduce the load on the server if blocked requests are deflected at the Network Layer before reaching the server.
It would be better to block by IP, and only open the SSH port to requests from my local network (HTTP/HTTPS is obviously public and open to all). This isn't an option because my my broadband package doesn't include a static IP. One way around this would be to deploy another Hetzner server and set it up as a VPN. I would then restrict port 22 to requests from that server's IP and connect to the VPN server first. This might be a project further down the line.
To set up the host firewall I used ufw (Uncomplicated Firewall):
sudo apt install ufw
This is a wrapper for the venerable iptables that simplifies the process.
I applied the same basic rules as earlier:
sudo ufw default deny incoming
sudo ufw default allow outgoing
sudo ufw allow 22/tcp
sudo ufw allow 80/tcp
sudo ufw allow 443/tcp
sudo ufw enable
To confirm:
sudo ufw status
To                         Action      From
--                         ------      ----
22/tcp                     ALLOW       Anywhere
80/tcp                     ALLOW       Anywhere
443/tcp                    ALLOW       Anywhere
22/tcp (v6)                ALLOW       Anywhere (v6)
80/tcp (v6)                ALLOW       Anywhere (v6)
443/tcp (v6)               ALLOW       Anywhere (v6)
(This automatically applies the rules for IPv6 as well as IPv4.)
Fail2Ban
As an additional security measure I installed fail2ban. This software is
designed to work alongside your firewall to detect and block brute-force login
attempts. You apply it to services running on specific ports at the Application
Layer.
Debian does not come with the rsyslog package installed and fail2ban works
best with this logging program rather than systemd and its journalctl logs.
I tried to get it working with systemd but kept facing errors I couldn't
resolve, so I just installed rsyslog along with fail2ban:
sudo apt install fail2ban
sudo apt install rsyslog

sudo systemctl start rsyslog
sudo systemctl enable rsyslog
sudo systemctl start fail2ban
sudo systemctl enable fail2ban
I didn't change any of the fail2ban defaults. On Debian it runs on the sshd
server automatically and this is the only service I have running currently.
I waited a while and then checked the status:
sudo fail2ban-client status sshd
Which gave me:
Status for the jail: sshd
|- Filter
|  |- Currently failed: 2
|  |- Total failed:     55
|  `- File list:        /var/log/auth.log
`- Actions
   |- Currently banned: 0
   |- Total banned:     6
   `- Banned IP list:
The IP addresses of actors that make repeated failed login attempts are put in a
temporary "jail" by fail2ban which means they are blocked for a limited time
period. The data above tells me that there have been 55 total attempted failed
logins and this has resulted in 6 IPs being put in jail! However this is just
normal background noise in serverland and nothing to particularly worry about.
When I take a look in var/log/auth.log, I see entries like:
Disconnected from authenticating user root 218.92.0.236 port 22272 [preauth]
This indicates a malicious actor trying gain access as root but being blocked by the earlier root protections.
There are also entries like this:
Connection closed by invalid user postgres 195.211.190.228 port 47454 [preauth]
Which shows a speculative attempt to try and connect to a non-existing PostgreSQL service.
These will typically be bots trying their luck at scale rather than actual people.
Alongside the malicious attempts I see my own legimate logins and invocations of
root as sudo:
pam_unix(sudo:session): session opened for user root(uid=0) by <my_username>(uid=1000)
This was enough for one Sunday! In my next post I'll detail how I set up DNS and SSL for the new server.
Resources
In researching how to do the above, I created or expanded the following entries in my Zettelkasten: