5.2 KiB
| title | slug | date | tags | ||
|---|---|---|---|---|---|
| How I backup my primary machine | /backing-up-primary-machine/ | 2023-01-08 |
|
I use the rsnapshots package to run sequenced backups of my ThinkPad T15
running Arch Linux.
rsnapshots is based on the rsync utility and makes it easy to maintain
backups over several timeframes. I run hourly, daily, weekly, and monthly
backups, sequenced using systemd timers.
Preparing the external disk
I store my backups on an external 500GB SSD.
First I partition the disk:
fdisk /dev/sda
d # delete the existing partitions
n # start a new partition
+500GB # specify size
w # write the partition to the disk
I now have a 500GB partition at /dev/sda/sda1
Next I create the file system:
mkfs -t ext4 /dev/sda1
And I label my disk so that I it has a readable name rather than the default GUID that Linux will apply.
e2label /dev/sda1 archbish_backups
At this point you would create or specify a mount directory and mount the
partition with mount, also adding it to your fstab file to ensure that the
disk mounts to the same location in future.
I haven't chosen to do this because I use the KDE Plasma desktop environment and
it automatically mounts any connected drives to /run/media. However in order
to check the partition label and ensure the above processes have been successful
I will disconnect and reconnect the device.
Now when I run lsblk to list the block devices on the machine, I see my new
disk and partition:
lsblk
NAME        MAJ:MIN RM   SIZE RO TYPE MOUNTPOINTS
sda           8:0    0 465.8G  0 disk
└─sda1        8:1    0 465.8G  0 part /run/media/thomas/archbish_backups
nvme0n1     259:0    0 476.9G  0 disk
├─nvme0n1p1 259:1    0   512M  0 part
├─nvme0n1p2 259:2    0  11.2G  0 part [SWAP]
└─nvme0n1p3 259:3    0 465.3G  0 part /
Typically you won't have access to the partition or mount directory yet. You can run the following against your username to ensure access:
sudo chown -R <username>:users /run/media/<username>/
Configure snapshot backups with rsnapshot
I install rsnapshot and rsync as a dependency:
pacman -Sy rsync rsnapshot
rsnapshot is setup entirely through its config file: /etc/rsnapshot.conf.
When you install the package the default config file contains lots of
instructions and it's mostly a case of removing the comments for the
functionality you require. The
Arch wiki provides an exhaustive
account but the key parts are as follows:
# Set the snapshot root directory (the external HDD you plan to use)

snapshot_root   /run/media/thomas/archbish_backups

# Set the backup intervals

retain  hourly 24
retain  daily   7
retain  weekly  4
retain  monthly 12

# Name the dir you want to snapshot and what it should be called on the external disk

backup  /home/  localhost
So, obviously I am taking hourly, daily, weekly and monthly snapshots. In total, this gives me a years worth of retention whilst minimising the space taken by the older backups. (If I wanted to keep a record spanning several years, I could just make a copy the latest monthly backup in a year's time.)
The numbers next to the names indicate the retention period. After 24 hours, the oldest hourly backup becomes the daily backup; after seven days the oldest daily backup becomes the weekly backup; after four weeks the oldest weekly backup becomes the monthly backup and so on.
Now we need to automate the execution of rsnapshot at the times designated in
the configuration file. We'll do this with a systemd service file and several
timers. Each file created will be located at /etc/systemd/system/
First we create the service file. This will be a oneshot service that is run by the timers:
[Unit]
Description=rsnapshot (%I) backup

[Service]
Type=oneshot
Nice=19
IOSchedulingClass=idle
ExecStart=/usr/bin/rsnapshot %I
Then we have to create a timer file for each of the intervals: hourly, daily, weekly, and monthly. Here's the hourly and monthly files to give an idea:
# /etc/systemd/system/rsnapshot-hourly.timer
[Unit]
Description=rsnapshot hourly backup

[Timer]
# Run every hour at 15mins past the hour
OnCalendar=*:15
Persistent=true
Unit=rsnapshot@hourly.service

[Install]
WantedBy=timers.target
# /etc/systemd/system/rsnapshot-monthly.timer
[Unit]Description=rsnapshot monthly backup

[Timer]
# Run once per month at 3:30 local time
OnCalendar=*-*-1 03:30:00
Persistent=true
Unit=rsnapshot@monthly.service

[Install]
WantedBy=timers.target
Let's check one of our timers:
systemd-analyze calendar "*:15"

Original form: *:15
Normalized form: *-*-* *:15:00
    Next elapse: Sun 2023-01-08 15:15:00 GMT
       (in UTC): Sun 2023-01-08 15:15:00 UTC
       From now: 27min left
Nice. Now we need to enable and start the timers. For each timer run:
systemctl enable rsnapshot-[interval].timer
systemctl start rsnapshot-[interval].timer
Oh it's 15:21, let's check the first hourly snapshot was taken:
journalctl -u rsnapshot@hourly
Jan 08 15:15:04 archbish systemd[1]: Starting rsnapshot (hourly) backup...
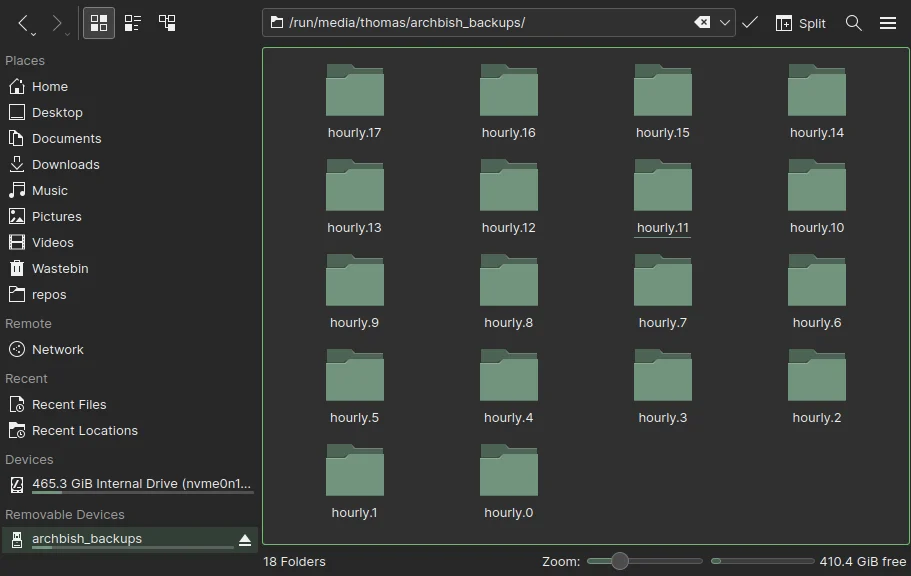
Great. After a few hours we can see the different snapshots mounting up in the backup directory: